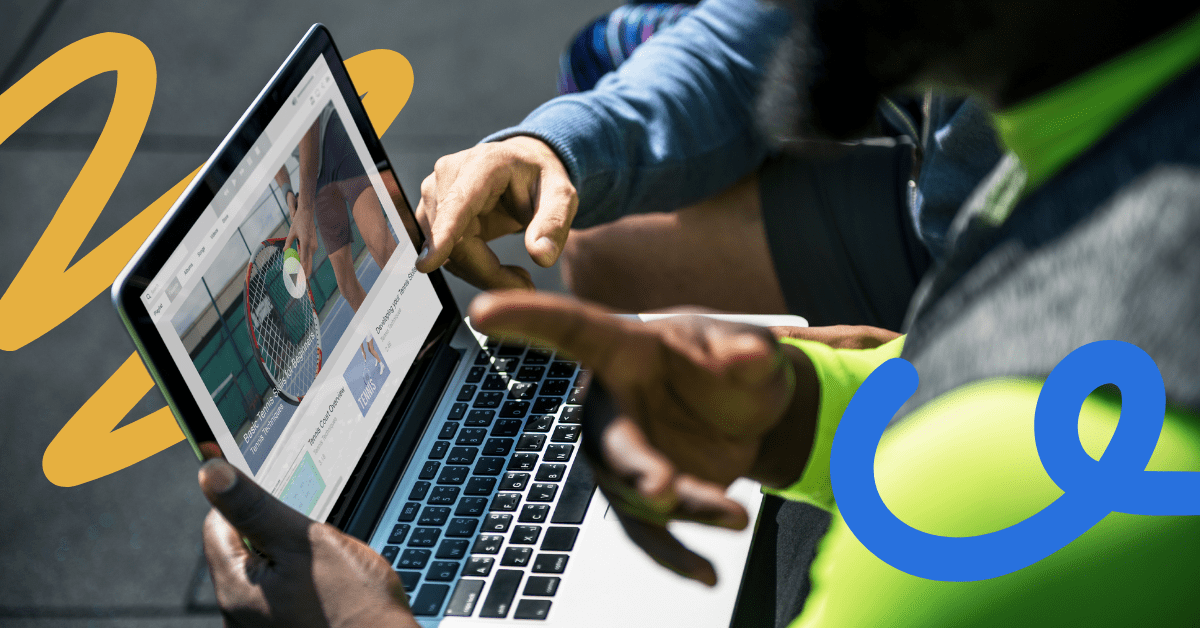

Video content is becoming increasingly popular, whether you want to create instructional videos, vlogs, or creative content. You don’t need an expensive set of cameras to begin, either, as your modern Mac has all the built-in tools to record professional-grade videos with pristine sound quality. So tap into your potential and start creating today.
This guide will walk you through some simple step-by-step instructions to unlock your Mac’s capabilities for recording cinematic-quality audio and video content. Let’s begin.
How to Get Started With Video Recording on a Mac
Before jumping straight into how to record a video on a Mac, take a few minutes to prepare your hardware and workspace. Here are a few tips for a great start.
Check Your Mac’s Hardware and Software
The latest MacBooks and iMacs come with built-in webcams and microphones that allow you to record decent-quality videos in a pinch. However, before you record a video on your Mac, check your technical specifications and software to ensure it can smoothly handle video and audio recording tasks. Here are some key things to check:
- Confirm that you’re running the latest version of macOS to access the newest features.
- Check that you have plenty of storage space available on your hard drive to save recordings in a high-definition format, which produces large files. Consider getting an external hard drive if needed.
- Make sure you have at least eight gigabytes of random-access memory (RAM) so your editing software can quickly render videos without lagging. Upgrade your RAM if needed.
Set Up Your Microphone and Camera
With your gear and software ready, the next step is a proper setup. Here are a few quick tips:
- Position your camera and yourself properly: Pay attention to the lighting, centering, and distance from the camera for a well-composed shot. Look directly at the lens when speaking and get the camera at eye level if possible.
- Reduce ambient noise: Record your audio in a quiet space if possible to minimize background noise. Turn off air conditioner vents, computer fans, and anything else that might be picked up by the mic.
- Remember that mic technique matters: Speak directly into the microphone at a consistent volume and distance. Use a pop filter to prevent excessive breathing sounds from seeping into your audio.
- Adjust input levels: Make sure you aren’t peaking or clipping the mic. Run a test recording to check the input levels and adjust them as needed.
Select the Right Recording Software
Internal vs External Sound
There are two types of sound recording when it comes to creating a screen recording: Internal and external.
It’s important to understand what type of sound you require, as the software and method you use to record your screen can be quite different.
- External Sound: This is any sound that is not produced by your Mac, your microphone will pick up any sounds, such as your voice, keyboard/mouse clicks, and audio in the background. External sound is simple and easy to do with a Mac.
- Internal Sound: As you might have guessed, this is any sound produced by your Mac. If you need to screen record, for example, your software or audio content, you will need to record the internal sound.
Now we know the difference, let’s have a look at the different types of software and methods to record both internal and external sound.
External Sound Software
In the top menu bar of your Mac, you can find a variety of native tools for capturing video content, including the built-in screen recorder. These options provide a quick and straightforward way to start recording. Here’s a quick rundown of some of the top recording tools on macOS:
- Screen Recorder: Macs include this native app for easy screen recordings. You can access it by simultaneously pressing the “Shift,” “Command” and “5” keys. This opens the recording window. Press the record button and choose to record the entire screen or a portion of it.
- QuickTime: The built-in QuickTime Player app lets you record your screen or webcam videos. This tool works great for basic needs.
- Photo Booth: Don’t overlook Apple’s built-in Photo Booth app for quick recordings directly from your Mac’s webcam or connected video camera.
- iMovie: Apple’s consumer-focused video editing app also handles recordings from various sources, such as microphones, video cameras, and the screen itself. It’s a simplified but capable option. If you’re looking for even more customization and advanced features, you can explore other powerful third-party apps.
- Final Cut Pro: This professional-grade software lets you record beautiful, clear, detailed footage and compile it into sophisticated productions.
Record Your Video With External Sound
Once you’ve properly set up your gear and selected your Mac recording software, it’s time to actually record your videos. Here’s a quick best-practice checklist to ensure you produce high-quality videos with great sound when you record a video on a Mac:
- Set up your lighting, backdrop, camera position, mic, and other physical elements properly before recording.
- Select inputs for video sources like webcam feeds, iOS device displays, or computer screens. Choose an audio source from an internal or external microphone.
- Do a few seconds of test recording to double-check your camera framing, mic levels, and output. Tweak your setup as needed.
- Use a clapboard at the start of the recording to have a visual and audio sync point if needed during the editing stage.
- Capture some extra lead-in and lead-out video footage to give yourself flexibility when you’re trimming your final cut.
Internal Sound Software
As we can’t record internal sound with native apps on our Macs, we need third-party software to do this. These are two of the most popular ones, which do the job well and are relatively easy to set up.
- QuickTime Player with BlackHole Virtual Audio: This is the software that we use because it works seamlessly with Macs and is free. Setup can be a little tricky, but we have put together a step-by-step guide below.
- Aiseesoft Screen Recorder: This is a popular choice for Mac users as it’s easy to set up and compatible with Macs with the M2 chip. It offers a free trial, but after that, you’ll need to pay.
Record Your Video With Internal Sound
We’ll be running through how to set up and use BlackHole Virtual Audio software, which we use ourselves. We also like that it is free, so it’s available to everyone.
Step 1
Once you have downloaded and installed the application, check that it is listed as BlackHole 2ch in your audio midi setup.
Optional step for recording both internal and external sound at the same time)
- If you want to include both your external and internal audio, you’ll need to add in an extra step and create a “Multi-Output Device” in your Audio MIDI Setup. Click on the + sign and select “Create Multi-Output Device”, and then you can next select “Built-in Output”, and under the Audio Device list, select BlackHole 2ch and any other device (e.g. external microphone) you might want to use.
- Before starting your audio recording, you’ll need to make sure your speakers in your Mac menu bar are set to “BlackHole 2ch” or “Multi-Output Device” in the sound options. If you want to hear both the audio recording and speaker at the same time, make sure to select “Multi-Output Device”.
Step 2
Open the QuickTime player and select “New Screen Recording”, and under “Options” you will now be able to select BlackHole 2ch under the microphone list.
And then you are ready to start to record a video on your Mac with the added benefit of also including internal audio.
Review and Edit Your Video
Recording is just the first step. To create a truly professional, share-worthy video, you need to review the raw footage, pick the best clips, sequence them for maximum impact, and polish everything with the right video editing tools. Here’s a video editing checklist that can help set your work apart:
- Review all of your raw footage multiple times and tag the superior clips to cherry-pick. Look critically for unwanted noise, bad lighting, and rambling sections.
- Arrange the shots to clearly convey information and emphasize important moments.
- Ensure consistent framing, direction, and appearance across jump cuts.
- Break up static shots with additional dynamic footage, such as B-roll overlays.
- Use digital effects like fades or zooms to smooth out scene changes.
- Balance vocal narration, background music, and embedded sounds.
- Add subtitles or captions to ensure your videos are accessible to a wider demographic.
With practice, you can learn to take raw recorded footage and output truly professional, share-worthy videos with nicely mixed audio.
Start Using Genny and Take Your Video Editing to the Next Level
Congratulations on mastering how to record a video on a Mac. However, a visually stunning final product requires more than just clean footage — it demands the magic of professional post-production work, too. That’s where LOVO’s Genny, an intuitive online video editor, comes in.
Genny brings advanced video editing capabilities right to your web browser. It offers a suite of features that are designed to elevate your content creation experience. With time-synced AI voiceovers, intuitive editing tools, and a treasure trove of royalty-free assets, Genny empowers you to craft videos that captivate and inspire.
However, LOVO isn’t just one of the best online video editors but It also includes an auto subtitle generator, an AI text-to-speech generator, an AI writer, and an AI image generator.
Now is the time to take action. Sign up today and embark on a journey where innovation meets imagination.

