In this section, we are going to walk through the process of creating a video project.
We know a lot of you create videos for all kinds of purposes. Marketing videos, product demos, educational videos, explainer videos, youtube videos…etc. Before, you had to download the audio and import it into a separate video editor, and we heard you; it was a huge hassle. That’s why in Genny, you can create your entire video in one place!
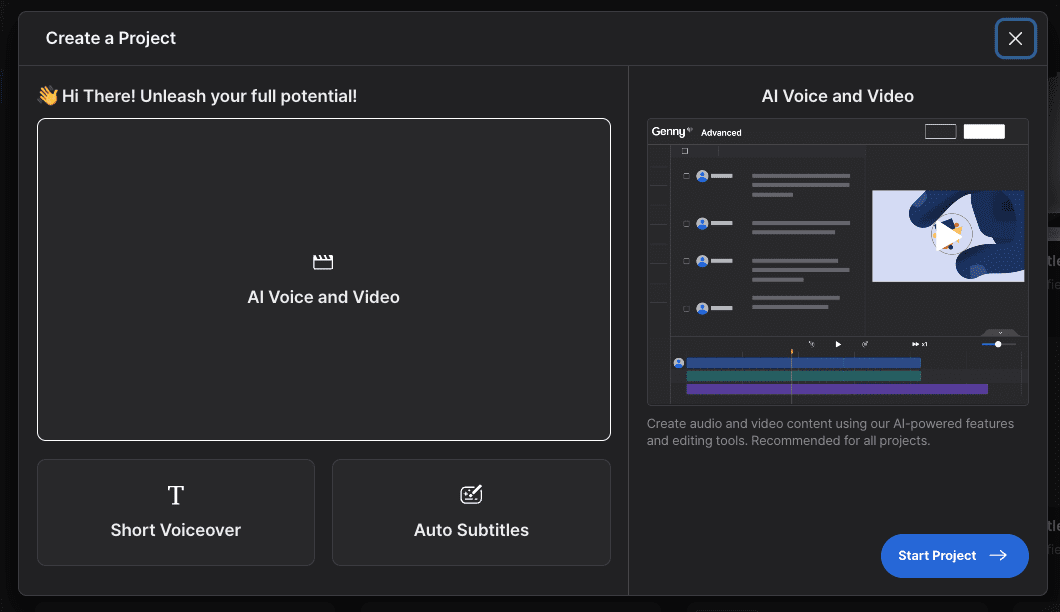
Step 1: Create Video Project
First, log into Genny. Once you are in your Workspace, select New Project, then click AI Voice and Video. Here, you can use multiple voices and directly add time-synced voiceover to your video.
Step 2: Add Video
There are two methods to add video to your project:
1. Uploading your own video file directly to Genny.
2. Selecting a video from our library of content that is available for commercial use.
Method 1: Uploading your own video file directly to Genny
- To upload or select a video, you will need to click on the Media icon on the left-hand side.
- To upload your own video, just select upload once the Media box is open and upload your file. It’s important to note that you can only upload video files that are in MP4 format to Genny.
- After it has been uploaded, it will appear in “My Folder.” Simply select your file and then click “Add to Project,” you will then see your video file appear on your editor timeline.


Method 2: Selecting a video from our library of content that is available for commercial use.
- To select a video from our library, click on “Pixabay”‘ and select a video. Here you can search and browse through videos.
- Once you have made your selection, click “Add to Project”, and it will appear on your editor timeline.

Step 3: Edit Your Video
Once the video is uploaded, you will see it on the editor timeline at the bottom in its own row. You can move this video block wherever you want on the timeline. Just click on it, and drag it to where you need it to be.
Adjust Video Length
Here you can adjust the length of your video by making the video file shorter to make it the perfect fit for your video. When you adjust the length of your video, it is non-destructive, which means you can make it longer or return it back to its original length just by increasing the length of the file.

Adjust Volume
In addition, you can adjust the volume of all video and audio files by right-clicking on the file and adjusting the volume slider.

Step 4: Synchronise Voice
Ok, so we have our video ready. Now let’s make sure our audio and video match up!
Move the blocks around by sliding them along the editor timeline to sync your voiceover to your video perfectly.

Snap Tool
When moving your voice clips around, you can use our snap tool, which will make sure that your audio (and video) files will always align up for perfectly synced files and smooth transitions.
To use the snap tool, all you need to do is to click on the magnet icon located just above your timeline, and then you can drag your files to where you need them. The red line indicates when things are perfectly matched up without overlap or gaps.

Split Element
To cut audio or a video block, you can use the split element tool to divide the blocks into several little blocks or to cut out sections of the blocks you don’t want.
To use the split element tool, first, select an audio or video block you want to edit.
Then, drag the yellow timeline bar to where you wish to cut the block. Next, simply click on the “Split element” icon next to the “Snap Tool” to cut in that exact location.

| Reminder: The Split element is only available for audio and video blocks; does not work for voice blocks.
Step 5: Export Video
Once you are done, click on export, and enter the name for your file. The format will automatically be set to MP4, and the resolution at 1080p, which can be adjusted as desired. Click export again, and your video will start the rendering process. Once it’s done, download the file, and you are good to go!
