Adding subtitles to your video takes just a few clicks and instantly increases your reach to new audiences.
In this guide, we’ll take you through the steps to get you generating your subtitles in minutes!
Step 1 – Select Subtitle Option
We recommend adding subtitles as the last step before exporting. This is especially important if you have voice blocks because the subtitles will not automatically update to reflect any changes made in your voice blocks.
Select subtitles located on the left of your project view and the option that best suits your needs.

1. Auto subtitles – Create subtitles from an uploaded file or your voice blocks.
2. Voice blocks to Subtitles – Create subtitles only from voice blocks.
3. Manual Subtitles – Create subtitles by manually typing your own.
4. Upload SRT file – Create subtitles from an uploaded SRT file.
Step 2 – Generate Subtitles
Auto Subtitles and Voice block to Subtitles
Once you have selected Auto Subtitles or Voice block to Subtitles, you will need to select the language that the audio is in. There are over 100 languages and accents to select from.

After you have selected the language, your subtitles will start generating automatically.

Manual Subtitles
Once you select this option, the subtitles panel will open with blank blocks for you to enter your subtitles and timestamps. As you type your subtitles they will appear on the preview screen in realtime.

Upload SRT file
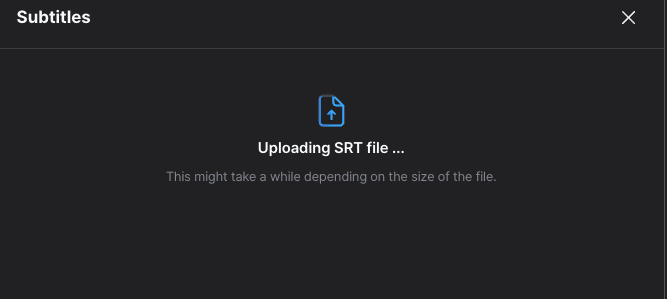
After selecting this option a window will open for you to select your SRT file. Once you have selected your file, it will automatically start generating your subtitles.
Step 3 – Edit And Select Subtitle Style
Once your subtitles have been generated you can then make any edits to the text or timestamps if needed.
At the top right of the subtitle editor, select the “Style” button. Here you can select from one of our preset styles and the type of subtitles you would like:
- Static subtitles – all captions will appear for the entire scene as a line of text.
- Dynamic subtitles – each word is highlighted in sync with the audio as it is spoken.
You can choose to apply your chosen style to all subtitle blocks or just specific blocks by toggling on or off the “Apply to All” button.
Below the preset templates, you can customize the subtitles for more intricate subtitle designs: font type, font size, text color, text align, bold, italic, line height, letter spacing, stroke, background, highlight, transform, and more are available for subtitle customization features.
Your subtitles will be updated in real-time and be able to be previewed instantly.

Optional Step – Reset Subtitles
If you need to reset your subtitles or decide you want to manually input or upload an SRT file you can do so by selecting the three dots located on the top right side, select “Reset All’, and then the subtitle option you would like to use.
This will reset your subtitles completely including all contents, timings and style.
Please note that if you decide to reset your subtitles, you will not be able to go back to your previous subtitles.

And that is all there is to it!